Summary
While much ofWorld of Tanks Blitzgameplay revolves around fast-paced Light Tanks, heavy-duty Heavy Tanks, and all-around Medium Tanks, players can depend on the Tank Destroyer to secure sheer destructive capabilities usually at the cost of maneuverability. Courtesy of their guns, a Tank Destroyer at the right position inWorld of Tanks Blitzcan deal devastating damage to unsuspecting tanks. However, catching them off-guard via the flank or the rear may put them at a severe disadvantage, especially due to their tendency to have lower HP and armor scores.
Using a Tank Destroyer forces players to be both careful and adaptable in their strategies due to their heavy firepower but low defensive nature. Thankfully, using the right Tank Destroyer should give players some wiggle room for proper angling to secure defense, the right positioning to secure the safety of range, and the proper aim to secure overall firepower.

15Ho-Ri Type 3 (Japan)
All-Purpose Tank Held Back By Traditional Gameplay
Despite being a Tank Destroyer that plays in the middle of the Jagdpanzer E-100 and the Object line, its stats and generally average kit make it a mobile, all-purpose TD. It boasts decent mobility, fast reloads, and one of the highest armor penetration stats for its standard ammunition. The fairly large size of its gun can transform it into a shield of sorts that compensates for the tank’s low HP pool and inability to bounce shells.
While its gun is manageable with its decent gun handling, accuracy, alpha, and penetration, it doesn’t offer anything too powerful to stand out. Its rather middling armor also means the Ho-Ri Type 3 doesn’t have what it takes to tank the frontlines, forcing players to treat it as a traditionally sniping TD.

Ho-Ri Type 3: Recommended Strategies
Given its and weak general armor, the Ho-Ri Type 3 is best played like a traditional Tank Destroyer at second line. Moreover, its high armor penetration can make the Ho-Ri Type-3 a decent sniper, capable of piercing through enemy defenses while backed up with enough mobility to outrun foes. The lack of gun depression means the Ho-Ri Type 3 isn’t ideally played on slopes for defense, so players should instead wiggle and angle their front or the side whenever they rush for cover to bounce shells.
14T95 (USA)
Tanky Doom Turtle Has Unreliable Speed
Affectionately called the “Doom Turtle,” theT95is much slower than its T28 predecessor but this boasts much better frontal armor. Unfortunately, the T95 does suffer from lackluster speed and a relatively inaccurate gun. Ifplayers who like tanksare willing to train with the T95’s lackluster aim, then they may as well do so with the T28’s 120mm AT Gun T53 while they grind for the 155mm AT Gun T7.
Despite the T95 being a juggernaut in terms of frontal defense, the T95 can easily be outmaneuvered by much faster Light Tanks, which in turn makes flanks and rear attacks a significant risk to the Tank Destroyer. Not to mention, staying in open areas can make the T95 a free target due to its sluggish movement, forcing players to stick to cover.

T95: Recommended Strategies
Unlike other tanks that often rely on supreme firepower or movement to dominate combat, the T95’s dominance lies in how its armor is used. Its slow speed means the T95 will likely arrive in combat too late for setups, forcing players to adapt to situations. In this regard, the T95 can either camp and rule the flank or become the frontline to protect the rest of the team by becoming mobile cover. With the right support units, the T95 can get shots in when close enough to enemies, but the rest of their team should do the heavy lifting in terms of DPS.
13SU-122-44 (USSR)
Firepower Makes It Ideal For Supporting Heavies At A Distance
Despite its nature as a premium tank, theSU-122-44tank inWorld of Tanks Blitzboasts some of the best stats concerning the balance of sheer firepower and maneuverability. Despite its middling DPM and penetration, the SU-122-44 does pack a punch with its damage and caliber.
Moreover, its 122mm gun’s 9.7-second reload is rather fast for its class. When combined with its decent alpha and speed as a Tier 7 tank, the SU-122-44 can help players contend with other tanks should players be able to outmaneuver them. In turn, this Tank Destroyer may be capable of flankingfaster Light Tanks. However, its lack of gun depression and lower HP can make it incapable of adjusting to situations quickly and can be extremely vulnerable when caught unawares. Even with its decent mobility, other tanks may still catch it unawares with the right positioning.

SU-122-44: Recommended Strategies
Due to the SU-122-44 having lackluster health and armor, its best plays may involve assisting Heavy Tanks at a distance. If there aren’t other tanks to serve as damage mitigation, the SU-122-44 may be better off hiding in the meantime until they can provide support. With the game’s decent mobility but lack of overall firepower, players should remain on the second line and opt for a peek-shoot-hide strategy.
12Hetzer (Germany)
Ambush Tactics Can Boost Survivability
Players who want to take the Tank Destroyer role inWorld of Tanks Blitzto heart will love theHetzerfrom Germany. At its core, the Hetzer boasts a decent rate of fire and reload time, explaining its rather high damage per minute and penetration. However, its lackluster HP and middling velocity make it somewhat fragile in longer incursions.
Being one of the game’s starting Tank Destroyers, the Hetzerfrom Germany can outlast lower-tier tanks due to its sloped frontal armor. However, its weak rear armor can make the Hetzer quite vulnerable when outnumbered by multiple foes, especially when flanked by other tanks.
Hetzer: Recommended Strategies
The Hetzer’s main gun boasts decent aim time, meaning timed attacks from tall grass and bunker cover can help players jump the gun on unsuspecting opponents. Moreover, despite the tank’s strong frontal armor, its thin lower armor plate can be easily exploited by more powerful tanks that have higher armor penetration. Players should capitalize on the Hetzer’s decent mobility to outrun foes who attempt to attack them at a better angle, turning to the front whenever possible to launch counter-attacks.
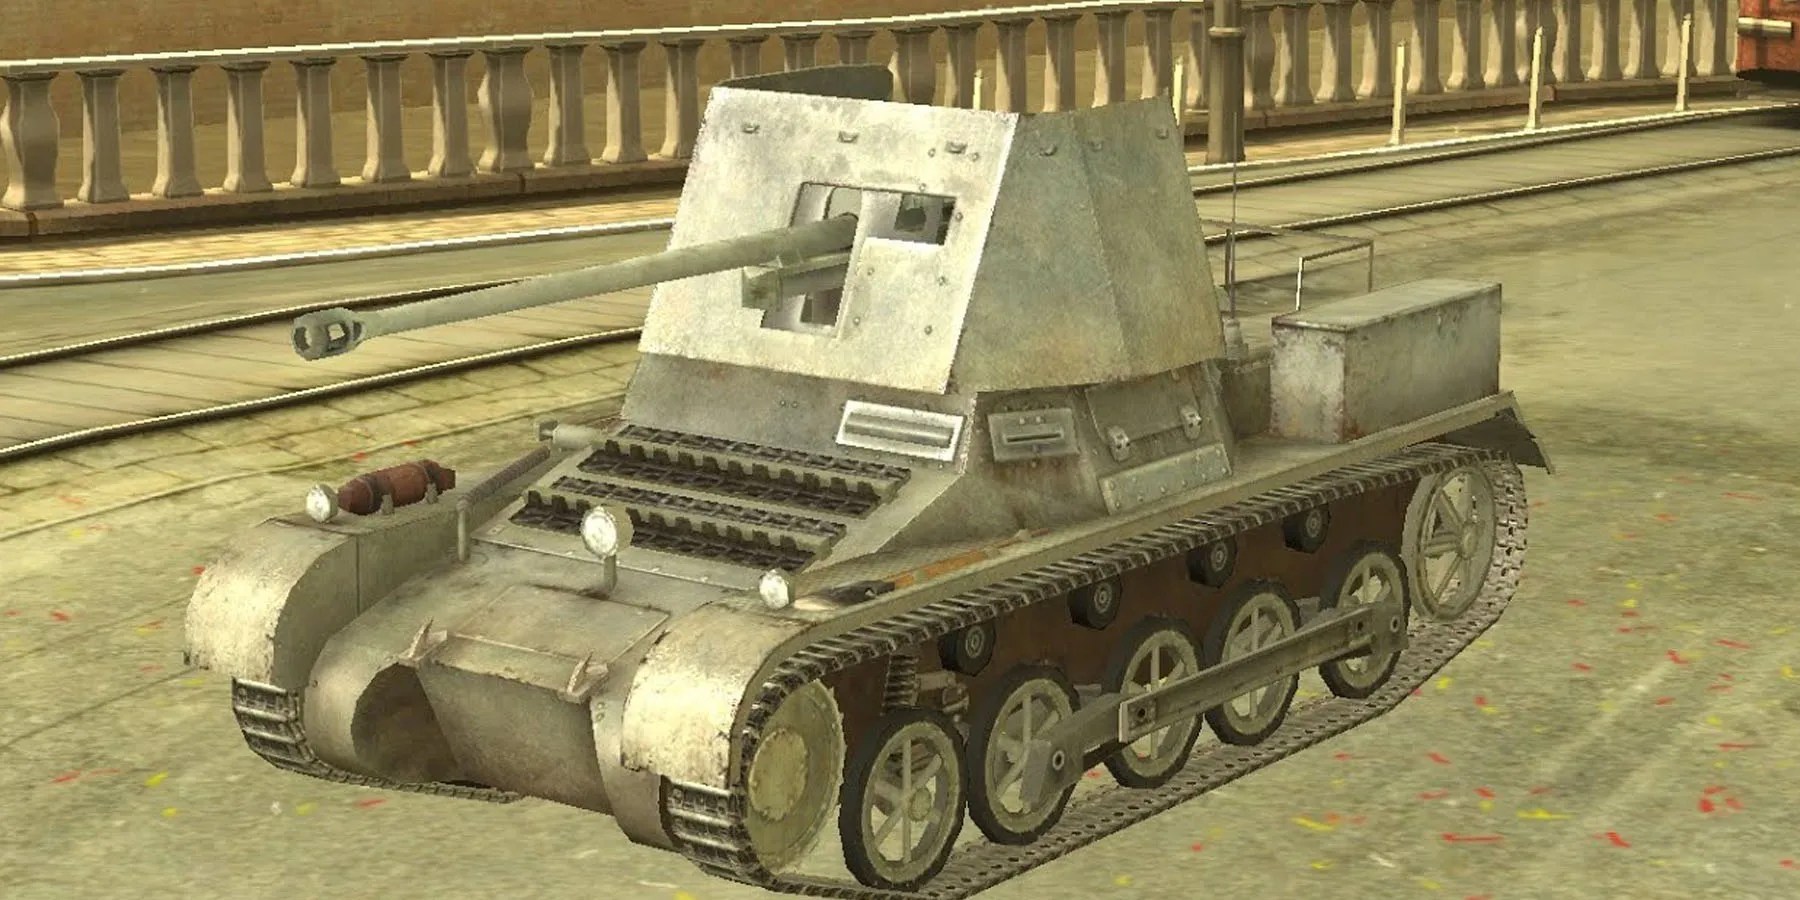
11Panzerjager 1 (Germany)
Stealth With Decent Gun Facilitates Sneaky Plays
Newcomers toWorld of Tanksgameplay who want to lean away from the traditional notion oftanks from games such asMinecraftmay be able to appreciate expanded tank options with thePanzerjager 1. This war machine bridges the gap between high-firepower Tank Destroyers and fast-moving tanks, where the Panzerjager 1’s slow speed is compensated with its powerful 4.7cm L/43 cannon.
Moreover, the Tank Destroyer has a decent firing rate and accuracy. In turn, despite its lack of speed, the Panzerjager 1 has a lighter frame that facilitates faster rotations to acquire targets. However, players need to stay wary of its lackluster armor and narrow arc, becoming a training TD for players to use to outmaneuver foes.

Panzerjager 1: Recommended Strategies
Given the low armor of the Panzerjager 1, stealth is crucial to its survival. Courtesy of its open top, the tank destroyer should have a workable view range that gear like the Camo Net should facilitate surprise attacks. Otherwise, heavy cover such as bushes with low terrain should be able to help the Panzerjager 1 survive engagements for longer. Moreover, improving its main weapon with the L/43 will give the Panzerjager 1 better accuracy, damage boost, and armor penetration to ensure its hide-and-snipe gameplay can actively punish opponents.
10Rheinmetall Skorpion G (Germany)
Outrun Foes With Speed, Use Full Rotation Attacks For Counters
When it comes to obliterating tanks of all types, players who want to enjoy theirWorld of Tanksgameplay should consider trying theRheinmetall Skorpion Gas a Tank Destroyer. While the tank has mediocre (some say, nonexistent) camo, it more than makes up for it with decent speed, powerful mobility, and enough damage to ensure late-game enemies become easy pickings.
At its core, the Skorpion G’s gun has decent damage per shot, DPM, and armor penetration. Once players manage to take full control of its wonky handling, the tank destroyer’s fully rotating turret can make quick work of enemies with the right positioning. Such is its speed that the Skorpion G feels like a Medium Tank due to its ease of traversal, making it quite a dependable tank destroyer in both missions and team plays.

Rheinmetall Skorpion G: Recommended Strategies
The lackluster camo of the Skorpion G will force targets to come at it quickly, especially when they notice its turret peeking from crucial corners. Thankfully, the Skorpion G boasts enough mobility to outrun tanks that try to chase it, making it a dependable lure in team plays. Its accessible nature comes with a skill ceiling, where players need to manage shooting targets and running from cover to cover to secure their survival. In turn, the Skorpion G plays best as a support tank, with its lack of armor making it a necessity for more strategic and stealthier plays.
9SU-130PM (USSR)
Mobility With Decent Gun Can Outmaneuver More Powerful Tanks
While theSU-130PMhas similar stats to its Skorpion counterpart, losing out in terms of overall firepower may prove to be its biggest strength. At its core, the SU-130PM boasts a higher average speed and thicker frontal armor which, with its sloped nature that auto-ricochets at certain angles, makes the SU-130PM a tank more suitable for survival.
Despite a mere minor buff to the 130PM’s gun aim-time, it’s a much-needed enhancement to make the turret more reliable for various circumstances. Moreover, the lack of camo for the Skorpion and its larger size can make it more noticeable than the SU-130PM, meaning the latter at the hands of skilled players may facilitate fast-and-loose plays.
SU-130PM: Recommended Strategies
Similar to the Skorpion G, the SU-130PM forces players to adjust to its lack of armor with its speed. In turn, its core playstyle involves quick repositioning with its mobility and relying on its gun’s high pen and single-shot damage on top of its angling to switch targets before they react. HE Shells are especially lethal against the SU-130PM’s lack of armor, which players can thankfully counteract with the Tank Destroyer’s mobility or its gun’s wide traverse angle to make room or hit angles at multiple locations without having to move around as much.
8Object 268/4 (USSR)
Straightforward Preference Makes For Decent Baiting Plays
Serving as the reason for the Object 263’s demotion into a Tier 9 Tank Destroyer, the Soviet’sObject 268/4replaces the Object 263’s fall from grace with a worthwhile upgrade. At its core, the war machine boasts decent accuracy, aim time, and DPM paired with manageable maneuverability. Players willfind this tankcamouflaged well given its overall weight, and its top speed and reversal speed should allow it to get in and out of various angles.
Being a Tank Destroyer, the Object 268/4 has weak side and rear armor, as well as lackluster gun handling when on the move. However, the Object 268/4 becomes a beast to fight when it faces enemies straight ahead with its powerful front plate, making it fit the “Assault Gun” labeling reserved for front-facing heavy hitters.

Object 268/4: Recommended Strategies
Tactical aggression is key to the Object 268/4, especially since its strong front plate and superstructure can support second-line assaults, with Heavies as frontliners while other tanks clear flanks. However, stronger shells from other Tank Destroyers can easily destroy its meager defenses. As a result, Object 268/4 players are better off using the Tank Destroyer as a hot bait, luring foes into safe trades while allies take fewer hits. That way, they can support the Object 268/4 with their more heavy-hitting attacks, while the player bounces back for the finale.
7FV217 Badger (UK)
Packs A Punch But Specifically At The Right Angles
Often compared with the Object 268/4, theFV217 Badgerrises above the USSR Tank Destroyer thanks in part to its more flexible nature. While the Badger remains similar to other Tank Destroyers in its weaker side and rear armor as well as lack of a turret, theWorld of Tanksvehicle does boast fast hull traverse speed, sloped frontal hull, and upper plate armor, as well as low penetration loss at a distance.
Due to its workable mobility and hull traversal, the Badger can give players more openings to adjust to most situations regardless of the map. The Badger can be a beast to fight up close and lure enemies in engagements before allies rush for the kill. While the Object 268/4 can accommodate tricky plays, the FV217 Badger boasts better flexibility in both movement and offense despite its bulky nature.
FV217 Badger: Recommended Strategies
As with other Tank Destroyers, the FV217 Badger makes for a more viable second-line unit for its strong front but weaker sides. If possible, hiding the lower plate or hull-wiggling should put the upper plate at an angle to bounce shells. In times of unsuspecting flanks, the hull traversal speed should allow the Badger to punish them, though players should verify to aim just to get their shots right. Players can also use the Badger’s frontal armor to bait enemies into attacking their lower plate, especially in open areas. Turning the tank to the sides quick enough should make it more difficult for enemies to aim at it, potentially forcing their shots to miss.
6Jagdpanzer E-100 (Germany)
Durable Tank Needs Angling For Reliable Defense, Right Aim For Maximum Offense
Fondly called the “Jageroo” or the “Broomstick of Doom,” theJagdpanzer E-100not only boasts a large frame but also quite an imposing 170mm cannon that easily makes it a juggernaut in the vehicle destruction game. Should the Jageroo secure its aim,most tanks can be taken downby two shots of its main cannon. Sadly, the Jagdpanzer E-100 does suffer from low DPM, lackluster reload, and even sluggish speed that mishandling its powerful armament can be extremely punishing for players.
The Jagdpanzer E-100 has a relatively vulnerable lower front armor plate as well as its frontal engine placement, which makes staying put a weakness for the Tank Destroyer. Thankfully, the vehicle does boast decent armor which, while not at the caliber of the T110E3, still complements the E-100 having the highest HP pool among TDs in the game.
Jagdpanzer E-100: Recommended Strategies
Maximizing the E-100’s size is paramount for its survival: angling to bounce back shells and having backup can supplement the E-100’s inherent weaknesses. If players want the TD to become a frontliner, the E-100 can accompany the Heavy Tank of the unit as it does possess enough frontal armor to become a sub-tank. Its lack of mobility means Mediums and Lights can protect the E-100 as it secures its aim, especially since firing at preoccupied foes can deal quite a lot of damage when fired properly.
